 ultimate-guide
How to Prepare Land for New Construction: 2026 Guide
Table of Contents
- What You'll Need Before Breaking Ground
- Step 1: Start with a Site Survey and Soil Testing
- Step 2: Secure Permits for Land Development
- Step 3: Land Clearing and Debris Removal
- Understanding Land Clearing Costs
- Step 4: The Site Grading and Excavation Process
- Step 5: Construction Site Drainage Requirements
- Step 6: Utility Hookups and Site Accessibility
- Frequently Asked Questions
Last Updated: September 18, 2026
What You'll Need Before Breaking Ground
To prepare land for construction, work starts long before the first excavator arrives. This guide walks you through the six-step process for residential and commercial sites: survey, permitting, clearing, grading, drainage, and utilities.
Most guides treat land prep as a single task. It's a sequence, and skipping a step costs far more to fix than to prevent.
Before you break ground, line up these items:
- A current land survey showing property lines, easements, and setbacks
- Soil testing results and, where required, a geotechnical report
- Local zoning and building permit approvals
- A site plan prepared by a civil engineer or qualified designer
- Utility connection feasibility for water, sewer or septic, and power
- An erosion control plan if your jurisdiction requires one
Each step feeds the next: the survey informs your site plan, soil testing informs foundation design, and permits depend on all of it.
Step 1: Start with a Site Survey and Soil Testing
The first step in how to prepare land for new construction is a professional site survey paired with soil testing. The survey maps property lines, topography, easements, and setbacks; soil testing reveals what's underneath, determining everything from foundation type to drainage design.
- Bearing capacity for foundation design
- Depth to bedrock or groundwater
- Expansive clay or fill soil that needs mitigation
- Percolation rates if a septic system is planned
What a Geotechnical Report Tells You
A geotechnical report translates soil borings and lab work into engineering recommendations: what foundation system the site supports, whether soil needs improvement, and how groundwater will behave. Lenders and permitting authorities often require one before approving new construction.
Step 2: Secure Permits for Land Development
Permits vary by jurisdiction, but most projects need a grading permit, a building permit, and sometimes a separate land disturbance or erosion control permit. Apply early, review timelines are often the longest wait in the schedule.
Zoning Ordinances, Setbacks, and Easements
Zoning ordinances regulate land use, density, and dimensional standards for each parcel. Setbacks are minimum distances a structure must sit from property lines, varying by zone. Easements are recorded rights letting utilities or others access part of your land, and they can restrict where you build.
Step 3: Land Clearing and Debris Removal
Land clearing removes vegetation, trees, stumps, and debris from the building envelope and access routes. It's the most visible phase of site development, and the one most likely to expose buried debris, old foundations, or unmarked utilities.
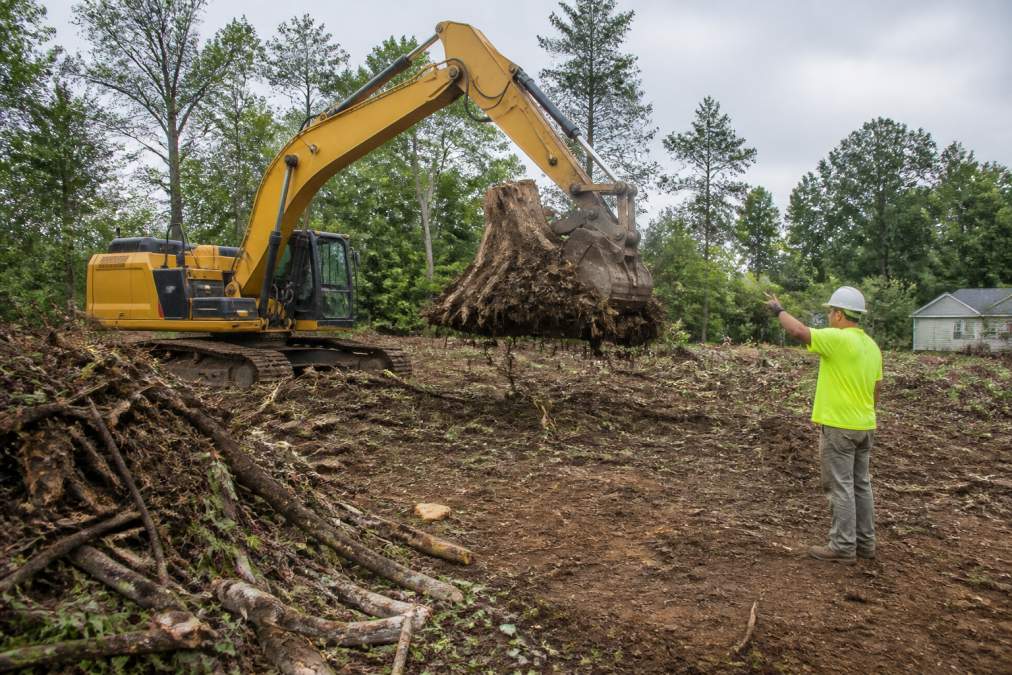
A typical clearing sequence:
- Mark and protect trees to remain
- Install silt fencing and erosion control measures
- Remove trees, brush, and stumps
- Strip and stockpile topsoil for later reuse
- Demolish and haul off any structures or debris
Understanding Land Clearing Costs
Land clearing costs depend on acreage, tree density, terrain, access, and debris volume. There's no universal per-acre figure, a flat, lightly wooded parcel and a steep, densely timbered one are completely different jobs. Here's how to build a real number.
The Cost Drivers, Ranked by Impact
- Acreage and tree density. More stems per acre means more machine time. A lightly wooded lot may clear in a day; a densely timbered acre can take several.
- Terrain and slope. Steep ground slows equipment, requires benching or cut-and-fill, and adds safety measures that raise labor hours.
- Access. A narrow driveway limits equipment size and haul routes, forcing smaller machines and more trips.
- Debris disposal. Hauling off-site is usually the most expensive option because you pay per load, limited by truck capacity and disposal fees.
- Stump removal. Grinding or pulling stumps adds significant time and is frequently billed separately.
- Topsoil stripping and stockpiling. A line item, not a freebie, but almost always cheaper than buying topsoil back later.
How Contractors Actually Price the Work
Most clearing contractors price by the acre, by the hour with equipment and operator rates, or as a lump sum after a site walk. By-the-acre is easiest to compare but only works on similar sites. Hourly is fairer on unpredictable sites but shifts risk to you. Lump sum puts risk on the contractor, so it usually carries the highest total.
What Moves the Number Up or Down
- Up: wetlands or floodplain flags, buried debris or old foundations, protected trees, steep slopes, limited access, and disposal fees in your area.
- Down: flat ground, light brush, on-site burning or chipping allowed, and a contractor who can grind stumps and leave the chips on site as fill or mulch.
Financing the Prep Work
For a current quote on your parcel, contact Wrex It llc directly.
Step 4: The Site Grading and Excavation Process
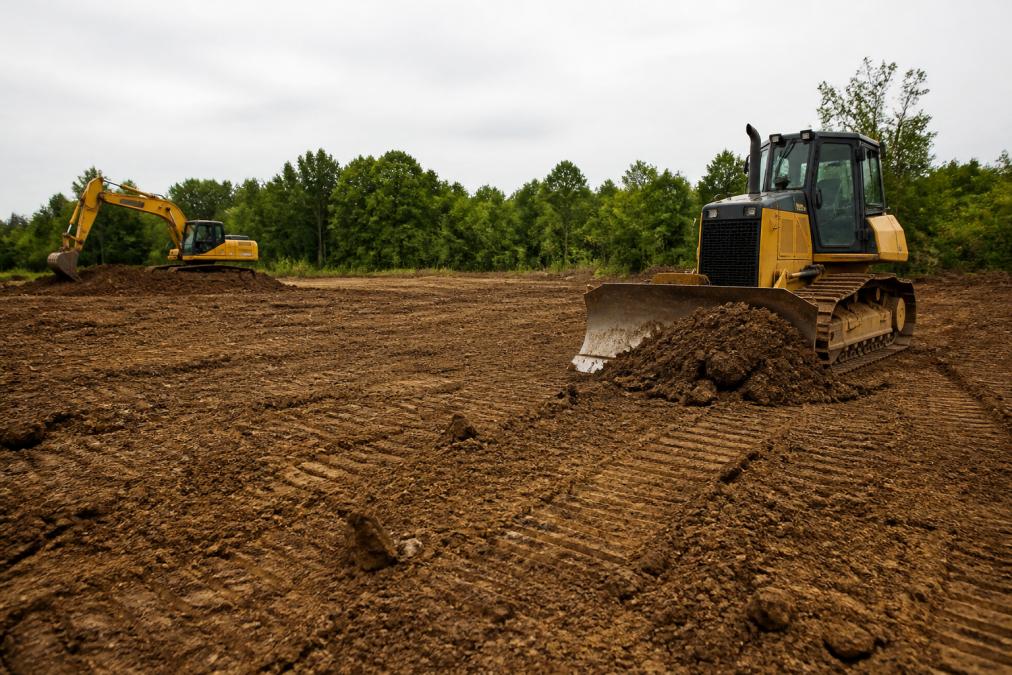
Site grading and excavation reshape the ground to match your approved site plan. Grading sets elevations for the foundation, driveway, and drainage; excavation removes soil for footings, basements, and utility trenches.
The process typically runs in this order:
- Rough grading to bring the site near final elevation
- Excavation for foundation footings and basement
- Utility trenching for water, sewer, and conduit
- Backfill and compaction in lifts
- Final grading to precise elevations
Foundation Prep and Topography
Topography, the shape and elevation of the land surface, drives every grading decision on your site. Foundation prep translates the geotechnical recommendations and site plan into a level, properly compacted building pad.
Foundation prep includes:
- Proof-rolling or compacting the subgrade
- Verifying footing elevations against the plan
- Installing drainage board or waterproofing where required
- Confirming the pad is level within the tolerance your foundation type needs
Step 5: Construction Site Drainage Requirements
Erosion control isn't optional paperwork. Inspectors can stop work for missing or failed controls, and sediment leaving your site can trigger fines. Plan the drainage before you grade, not after.
Step 6: Utility Hookups and Site Accessibility
Utility hookups connect your site to water, sewer or septic, electricity, gas, and communications. Site accessibility covers the driveway, culverts, and turning radii that let construction vehicles and emergency services reach the building. This is where the difference between a serviced lot and raw land shows up on your budget.
Water: Municipal Connection vs. Well
If a municipal water main runs along your frontage, you'll pay a tap fee plus a service line from the main to the building, including the meter and any backflow prevention. Without a main, you'll drill a well; cost depends on depth to the water table, casing, pump, pressure tank, and treatment if lab results show hardness, iron, sulfur, or bacteria.
Sewer: Municipal Connection vs. Septic
A municipal sewer connection requires a tap fee and a gravity or pumped service line to the main. If the main is uphill, you'll need a grinder pump and pressurized line, adding cost and a maintenance item. Without sewer, you'll install a septic system, designed around soil percolation rates, depth to groundwater, and setbacks from wells, property lines, and water bodies.
Electricity, Gas, and Communications
Electric service can be overhead or underground; underground costs more upfront but avoids poles and is often required by subdivision covenants. Your utility quotes a service drop or line extension based on distance from the nearest transformer or pole. Gas may come from a municipal main or require propane with an on-site tank. Communications (fiber, cable, phone) are usually connected last and easiest to forget, run conduit during the same trenching pass as electric so you don't dig twice.
Coordinate Trenching With Excavation
Coordinate utility trenching with excavation. Digging trenches twice wastes money and reopens compacted ground. The efficient sequence: rough grade, excavate foundation, trench utilities, backfill and compact, then final grade. Keep a current utility locate ticket active, hitting a buried line is dangerous and expensive.
Site Accessibility: Driveways, Culverts, and Turning Radii
That's the full sequence. Survey and soil first, permits second, then clearing, grading, drainage, and utilities. Each step depends on the one before it, which is why experienced site contractors plan the whole job before moving a single bucket of dirt.
Frequently Asked Questions
How much does it cost to prepare land for a house?
Land preparation costs vary widely based on acreage, terrain, and local labor rates. Major cost drivers include land clearing, grading, excavation, utility hookups, and permit fees. Properties with steep slopes, dense vegetation, or poor soil conditions cost more to prepare. Because pricing depends on your specific site, request itemized quotes from contractors rather than relying on national averages, and ask what each line item covers.
What permits are required for land development?
Most projects need a building permit, a grading or land disturbance permit, and sometimes a septic or well permit if you are not connecting to public utilities. Local zoning ordinances may also require site plan approval and erosion control plans. Requirements vary by county and municipality, so contact your local planning and zoning office early. Applying before you clear or grade prevents stop-work orders and fines.
How do you ensure proper drainage on a construction site?
Proper drainage starts with a site survey that maps topography and water flow. Grading should direct surface water away from the foundation, typically with a slope of at least 6 inches within the first 10 feet. Install erosion control measures like silt fences and drainage swales before excavation begins. If your lot has poor natural drainage, a civil engineer can design a system that meets local construction site drainage requirements.
Is it cheaper to buy land and build than to buy an existing home?
Building on raw land can cost less per square foot in some markets, but site development expenses often close the gap. Land clearing costs, grading, utility hookups, and permits add up quickly, especially on undeveloped acreage. The total depends on your region, lot conditions, and home design. Get a full site preparation estimate before comparing it to existing home prices in your area.